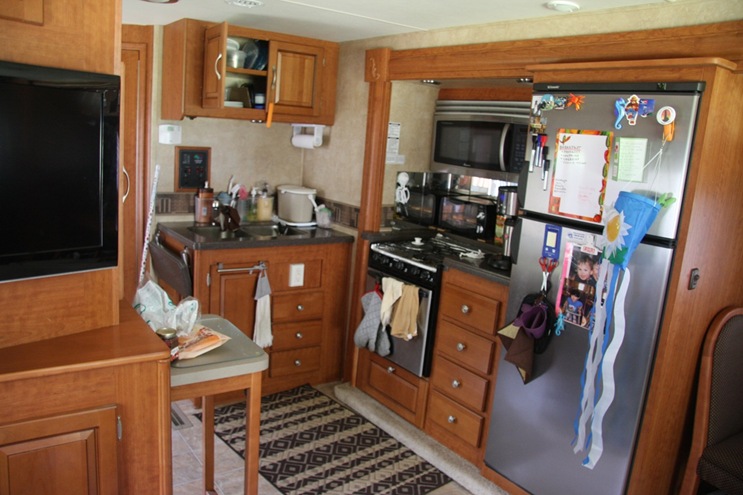
We have not done much to the kitchen other than add a few small appliances.
The fridge is 9 cubic feet with a good sized freezer. We have filled it pretty full a few times but mostly this size works for us. It can run from propane or 120V AC.
We have a full size microwave and a 3 burner propane stove top. We also have a small propane oven but we never use it. Currently it stores all the pots and pans.
We added a coffee maker which velcros to the wall when we travel. We also added a small toaster oven. To keep it in place I cut some small squares of wood, drilled holes in them and stuck them to the counter such that the legs of the oven fit in the holes.
You will notice there is not a huge amount of counter space. We requested that the dealer add (no charge) a fold up counter extension beside the sink. This helps a lot when washing the dishes.
One other thing I did was change the cupboard over the sink. It used to have a center post between the doors. I removed the post and unscrewed the doors and moved them closer together to cover the gap. It makes getting things in and out of the cupboard much easier.
There is one small problem with the design of the kitchen. The dinette and the kitchen up to the cook top are in the driver’s side slide. If we stop for lunch while driving, with the slides in, the cupboard below the sink inaccessible and the sink is harder to use.
The RV came with covers for the sink and stove top that matched the counter top. We left them at home. I am not sure why you would ever use them. I guess in the showroom it makes it look like there is much more counter space.
All of our dishes and glasses are plastic. In addition to being unbreakable they make much less noise banging around when we are on the road.
Bathroom
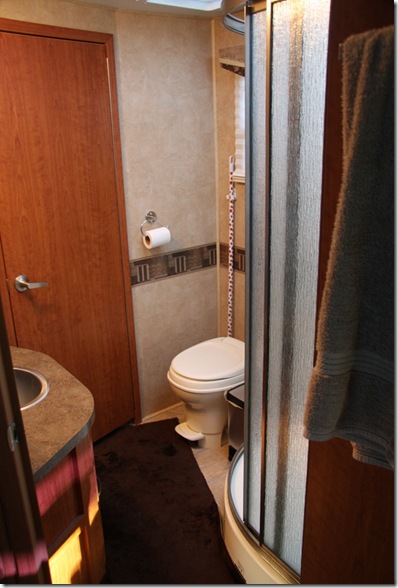
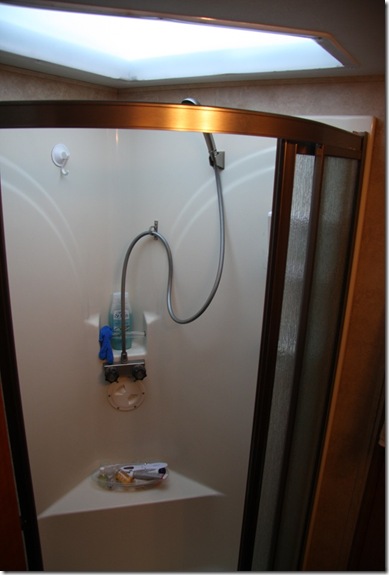
Nothing amazing here except that the shower is big enough to actually use with a nice bright skylight.
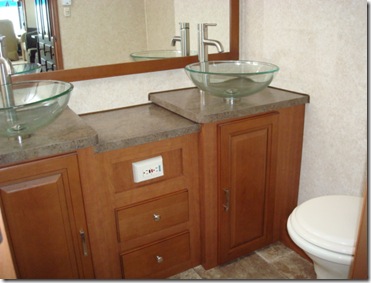
The only change we made here was we had the dealer replace the fancy raised glass sink that was like one of these.
With an in counter stainless steel on that is much easier to keep clean. The only problem is that the new sink is a little small.
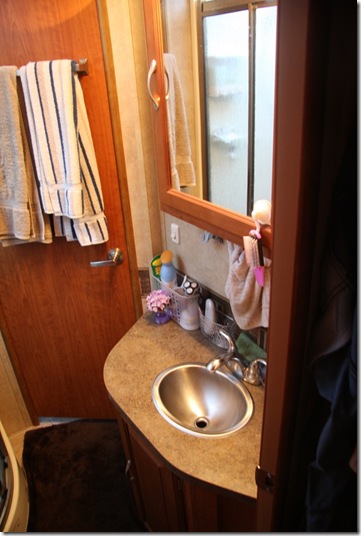
Notice everything is in baskets so it doesn’t fly away when we drive away.
The toilet is a special RV toilet. It uses almost no water. Since the “material” only has to drop straight down a short tube to the tank it doesn’t need that huge flush of water to move stuff along the pipes that a residential toilet uses. It has a pedal to flush, part way down just adds water, all the way to open a flap to flush. When done you just add enough water to seal around the flap to prevent the odours.
Bedroom
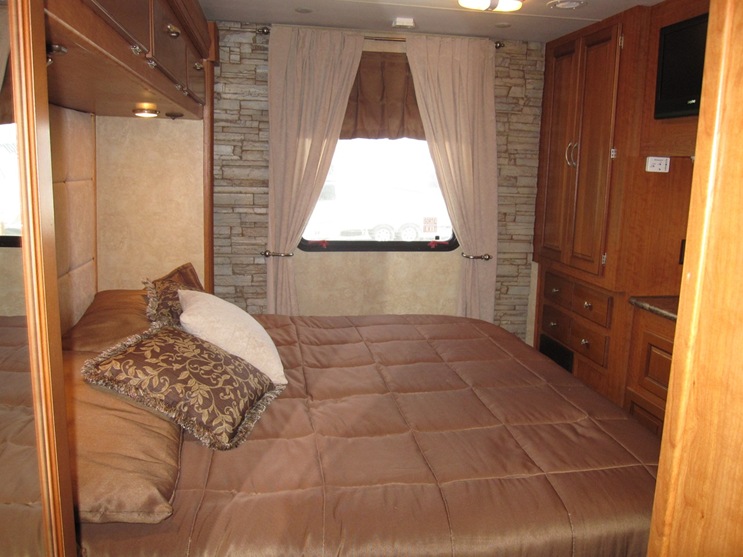
The bedroom has tons of storage. Three wardrobes, lots of drawers and cupboards over the bed. There is also storage under the bed.
There is also the third TV, a small one mounted at the end of the bed that we never use.
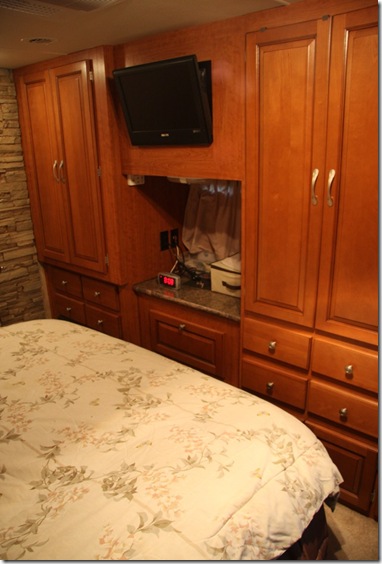
One of the wardrobes has the plumbing and power setup if we wanted to install an RV washer and dryer. I doubt we ever will. They want over $2000 for them; they are small; they take forever to dry things; you need full hookups with sewer as they use a ton of water and most campground have laundries. $2000 can pay for a lot of loads at the campground.
The bed is what is called a short or RV king. It is full king width but 6 inches shorter that normal to allow it to fit when the bedroom slide is in. This wouldn’t do for me and would have been a show stopper because my feet would hang over the end. What the dealer did was add a fold out extension to the board under the mattress. With the slide out we unfold the board and pull the mattress away from the wall. They also gave us an upholstered piece of foam the same thickness as the mattress that we stick between it and the wall. Voila, a full sized king. The seam between the mattress and the extra piece bothered me a bit so we went to Walmart and bought a full sized 2 inch thick memory foam mattress topper.
It is a bit of a pain to fold and unfold the bed each time we move but a few times we have had to sleep with the slides in and the short bed was very uncomfortable.
When we eventually replace the mattress we will get a queen size to give us more space at the sides to move around.
The third wardrobe in the hallway to the bedroom.
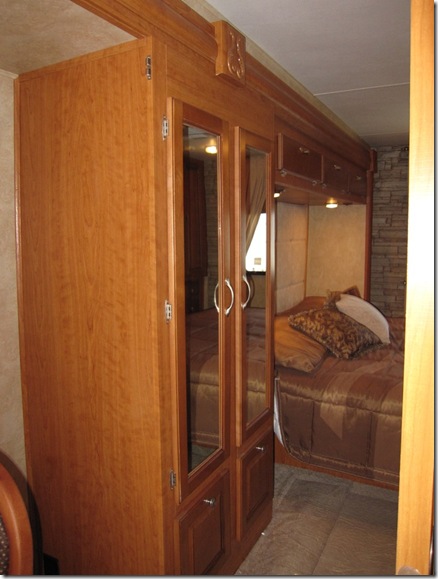
There is a door whose edge you can see that closes to give some privacy (from whom I don’t know). When this side’s slide is closed the wardrobe is pressed up against the door and inaccessible. We then get to the bedroom through the two doors in the bathroom.
Safety
There is a smoke detector over the driver’s seat that we are constantly setting off when cooking.
There is a CO detector in the bedroom. The propane detector near the floor in the kitchen can shut off the propane from the tank if it loses power or detects any gas.
There is a fire extinguisher near the door and I added another one in the bedroom.
The window over the dinette and the rear window in the bedroom can unlatch at the bottom and swing out as emergency exits.
Slides
Here are some comparison pictures with the main slide out and in.
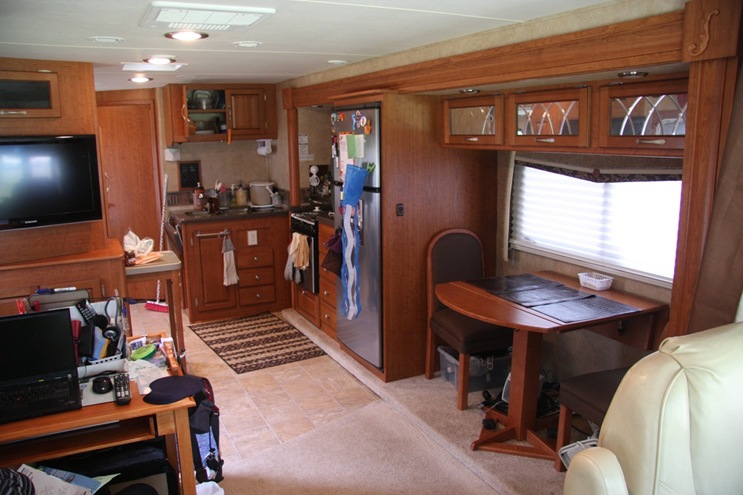
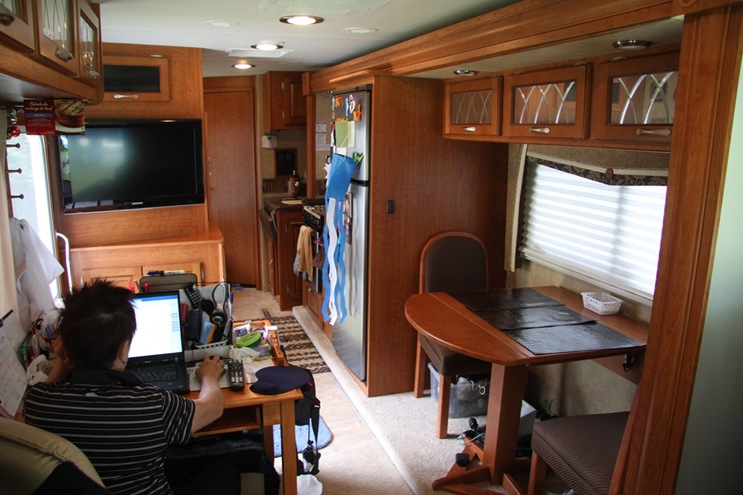
Still useable but it feels much smaller.
No comments:
Post a Comment