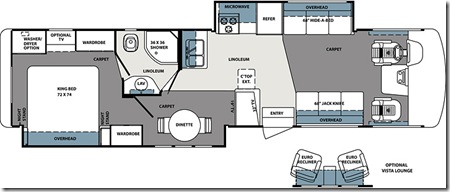
This is the layout we bought, with the optional loungers.
We have made quite a few changes as we have learned what best suits us.
I will start from the front and work back.
Cockpit
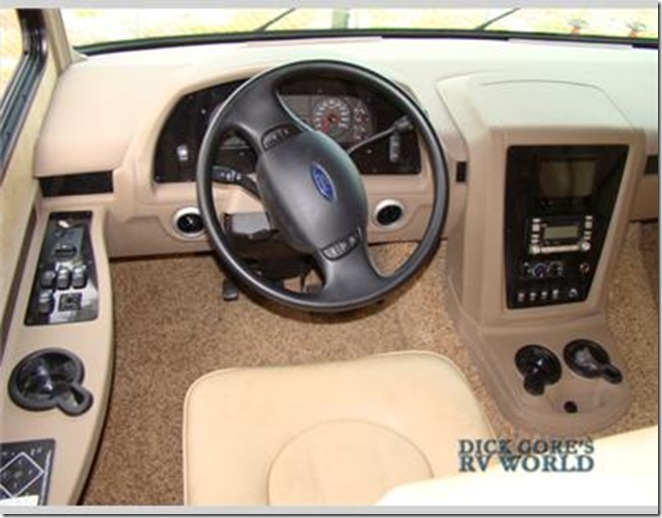
Here is a picture of what the driver’s seat and console used to look like.
Beside me at the left front are the control for the lights and mirrors. At the left rear is the control panel for the leveling system.
On the right floor are two almost useless cup holders as they are so far down they are hazardous to use when driving.
The center console has the monitor for the cameras, the stereo, the heater/AC controls and a bank of switches for map lights and dash fans.
Notice that there is no place to put anything such that it will stay there when you are driving.
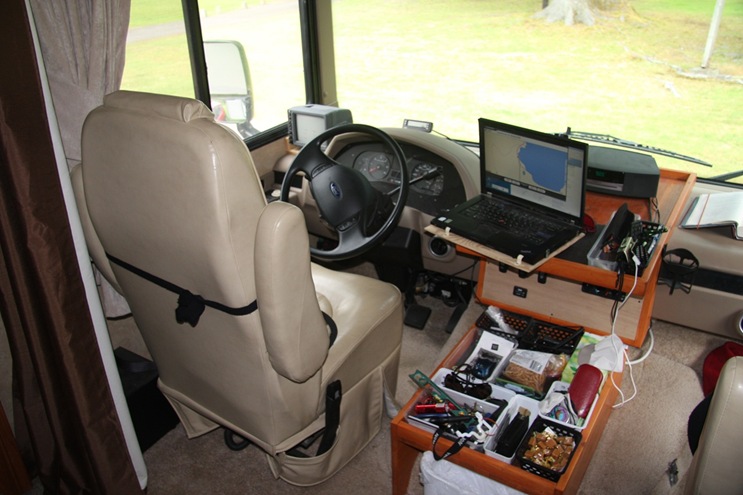
Here is what it looks like now.
Monitor
I moved the camera monitor up to where it is just a quick glance down to check it instead of having to literally lean back and over to see it. Thankfully the cables that came with it were long enough to allow the move.
There are three cameras in the RV. One fish eye lens mounted high on the rear end and two cameras over each of the front wheels.
The front cameras are activated whenever you use the turn signals to show you the blind spot on each side of the RV. I haven’t found them very useful because I know what is there from using the side mirrors but I always check the view anyway.
The rear camera is used when backing up, usually into a campsite. Since the fish eye view is very distorted I used some bright cups and placed them in line with each side of the RV on the ground at 3, 6 and 9 feet from the end of the RV. I put dots on the monitor where they showed up on the display. Now when I backup I know how far away objects are and whether the side of the RV will hit them.
However I NEVER backup unless Jennie is out there directing me. The rear camera has a microphone with a speaker up front so I can hear her.
When driving, the rear camera gives me a comforting view of the CRV since it is otherwise invisible. The camera does not give much of a view behind us since it is pointed down enough to see the rear of the RV. At most I think I can see 30 feet behind us. I do use it on the odd occasion that I am not the slowest thing on the road and have to pass someone. It lets me know when I am by and can pull back.
Trip Computer
I added a trip computer. It connects to the ODBII (on Board Diagnostics) port that all modern vehicles have under the dash. It can give you all sort of information but what I have constantly displayed is a digital speedometer, my current miles per gallon, the number of gallons of fuel used, the number of miles until empty.
I like having the speed up high so I don’t have to take my eyes off he road too far. The MPG reading reminds me to take it easy.
The two fuel measurements ease my paranoia about finding gas. Since it can sometimes be hard to find stations where you don’t have to backup to use them I always start looking after about 1/2 a tank has been used. Since the fuel tank holds 75 gallons or about 280 litres you can be standing there a long time. The value from the computer is usually accurate to about one litre so I know when to let up on the nozzle.
Center Console
I completely ripped out the center console and replaced it with one I built and stained to match the rest of the cupboards. It did it in such a way that the old console can be put back if whoever I sell it to wants it back.
The floor shelf just rests on the engine hump. It must be removable as the engine hump itself is removable to provide access to the rear top of the engine.
The top shelf and panel are screwed to the dash. I rearranged the gauges and controls so that the heater and AC controls are closer to Jennie as she is in charge of temperature.
I replaced the lousy stereo with a Bose Wave radio I got as a service award from Cisco. Some brackets and Velcro makes sure it isn't going anywhere. If you haven’t heard one of these, they are amazing. The sound just fills the entire RV.
We put a bunch of little baskets with shelf liner under them to keep things in place.
Finally I added a shelf for my laptop running the GPS software. With the nice big screen I don’t need my reading glasses to see the directions.
We also added a weather alert radio. It just sits there monitoring the national weather service radio channels looking for severe weather alerts.
Cockpit Curtain
We added a curtain rod with thermal and light blocking curtains across the width of the RV just behind the seats.
For privacy the RV already had curtains that run along a track over the side windows and windshield but they are a pain to open and close as you have to work around the steering wheel.
We seldom use the cockpit at night so these are much easier to close.
As an added benefit if it is very hot or cold out when we are driving we also close them so that the dash heater or AC has a much smaller area to heat or cool. Before we did this we could never get the right temperature.
When we are stopped and it is very hot or cold we also close them as those big windows gain or lose a lot of heat.
Jennie’s Desk
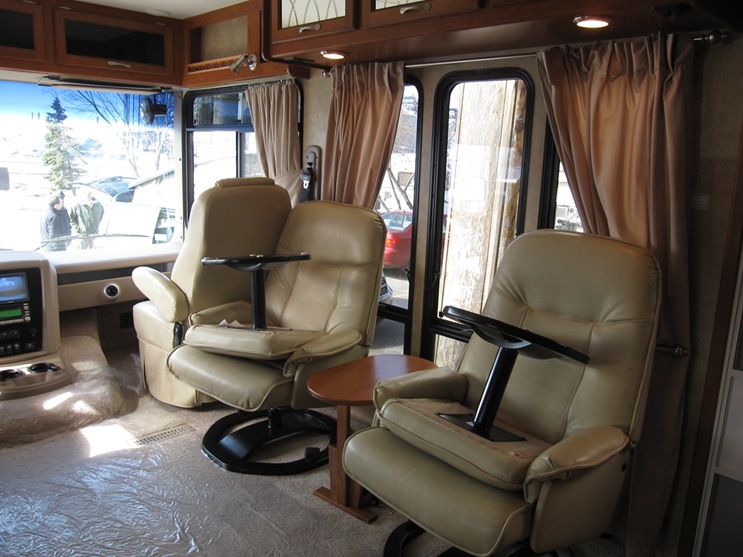
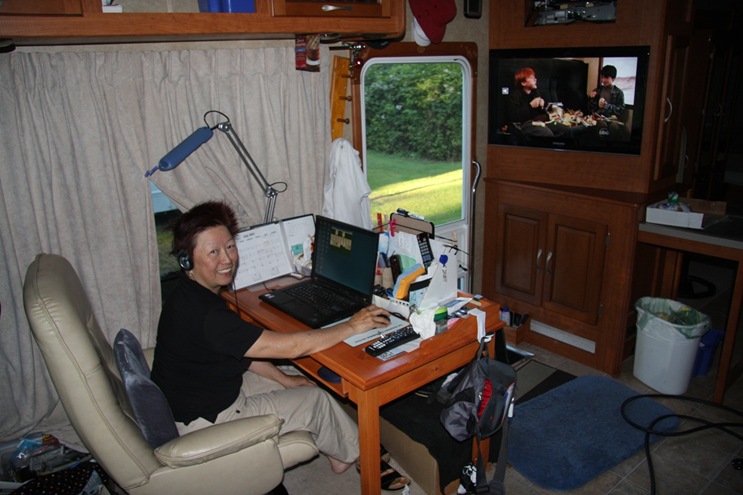
Moving back on the passenger side we moved one of the recliners and the little table between them and replaced them with a desk for Jennie. As you can see she has all the comforts of here home office and sits facing the TV on the divider on the other side of the door.
We put a shoe rack under her desk right next to the door. Previously we had shoes everywhere. Now they are where they are needed.
I also added a small coat and hat rack beside and over the door.
There used to be a clock over the door. I replaced it with a digital clock with an indoor / outdoor thermometer. The wireless outdoor sensor is in one of the storage bins below the floor.
From this
To this
Quiz question. What’s on TV?
Central Divider
The central divider is one of the things that sold us on this design. It essentially gives you three living areas in the RV (2 at the front and the bedroom) . When you are together in close quarters this long we each need our own space.
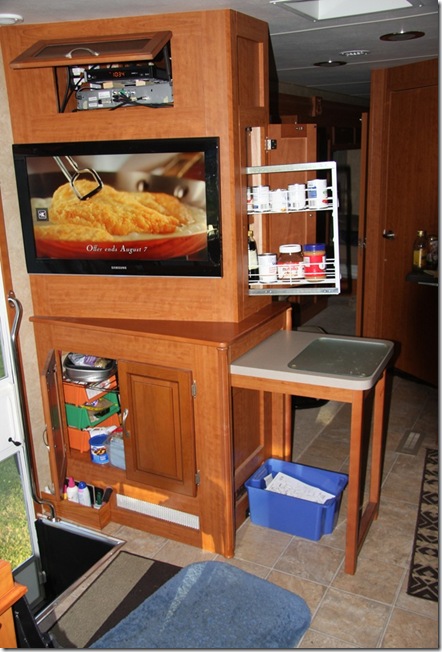
The bottom of the divider contains a large cupboard we mainly use for food. It also has a slideout counter top that is stowed when we are moving. The top has two TVs, one on each side and a can rack that slides out the end of the divider.
At the top is a shelf for the satellite receivers.
As you can see (Jim) we have a good supply of Nutella and peanut butter.
I also added a little wooden box by the door for sunscreen and bug juice as we always need it just after we go outside and remember.
Sofa Bed to Dining Table
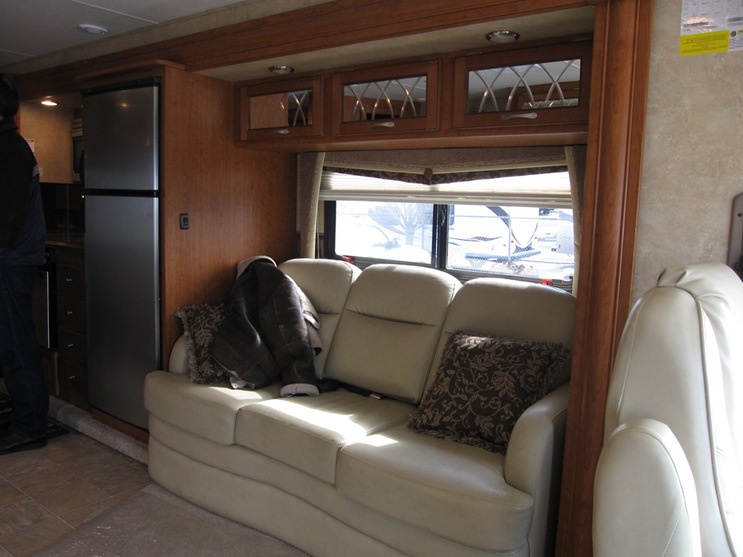
We discovered on our trip last year that we never used the sofa bed. At best it was a place the throw brochures and clothes. We never actually sat on it and it was a very lousy bed. So before we left I removed it and put it in the basement at home.
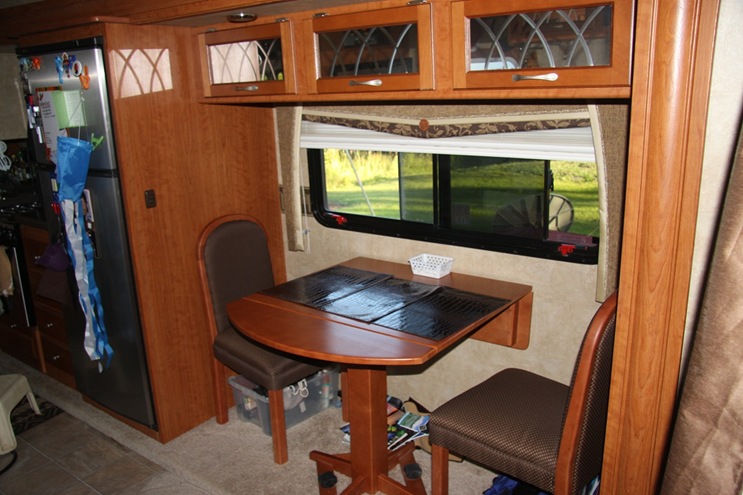
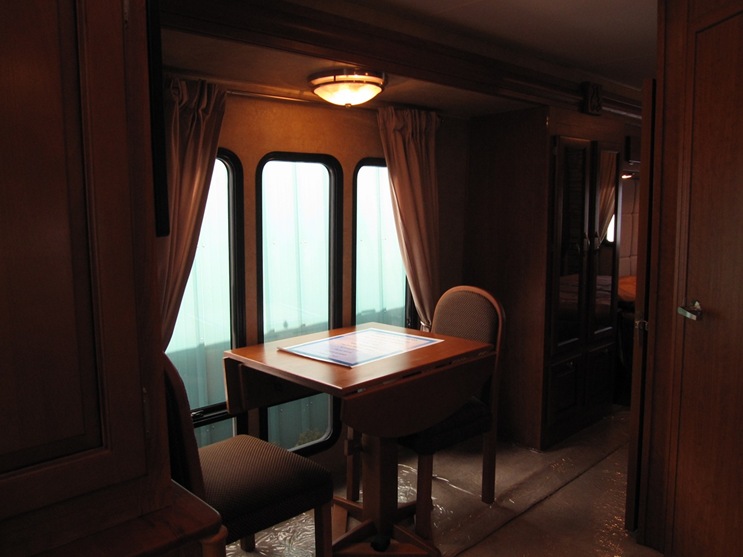
We found that the dinette table and chairs would fit here perfectly. The window here is also starts at table height, whereas at the old location the windows are floor to ceiling and somewhat wasted having the table there.
I drilled new holes in the floor and mounted the anchors for the table so it doesn’t move when driving. The chairs attach to hooks on the table to lock them in place.
From this
To this
Dining Room to Stuart’s Place
On the other side of the central divider where the dinette used to be is now Stuart’s place. We moved the other recliner and foot rest here. There used to be a 17 inch TV on this side of the divider wall. Now it is a 30 inch to match Jennie’s. I have a portable table for my laptop and mounted a second monitor for the laptop on the wall.
From this (looking towards the back)
To this (looking towards the front)
The rest in the next post.

No comments:
Post a Comment