Last night the thunderstorms held off until about 9 and then it came down in buckets with lots of lightning until well after midnight. We also had some one invade our “private” state park. A second person actually checked in. I felt sorry for the guy in his tent with all that water. Today we were back to sun and cloud and it turned out to be a pretty good day weather wise.
We decided to give our legs a rest and put the car to work. We are close to Green Mountain (“Vermont” in French, get it) National Forest. I read read in many blogs that the roads that cross over the mountains through the various gaps are quite scenic. We headed to the north end of the forest via Highway 100, which is itself very scenic, and then zigzagged our way back down through the gaps. We did the Appalachian, Middlebury and Brandon gap roads.
View Larger Map
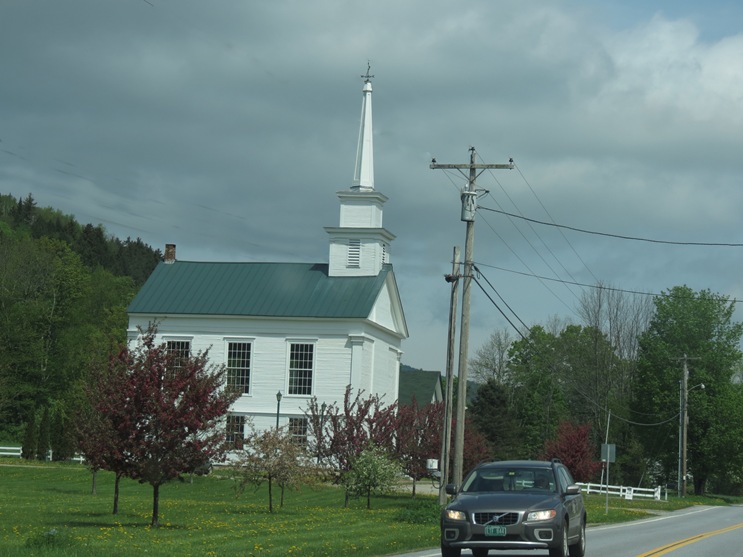
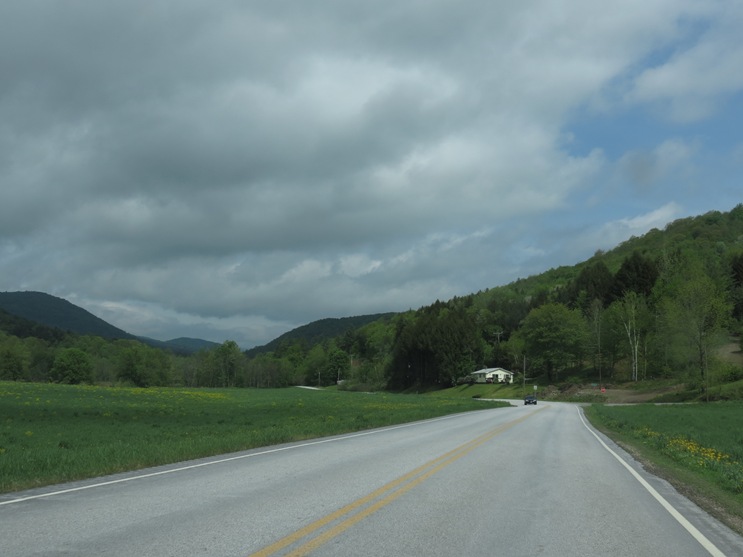
Highway 100 was typical Vermont countryside.
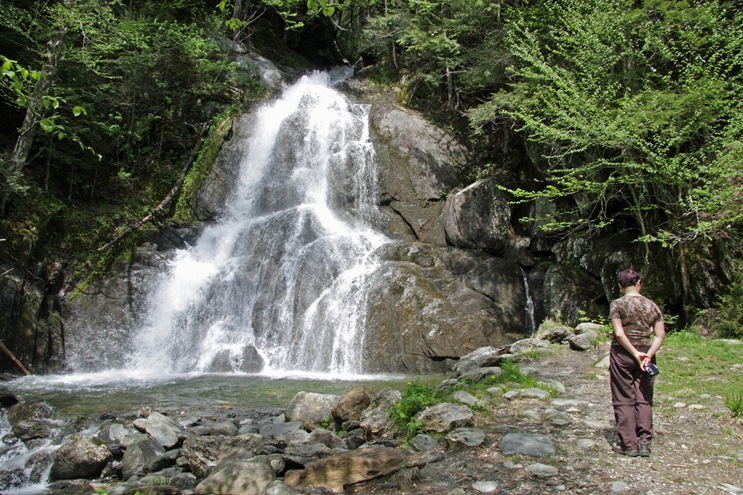
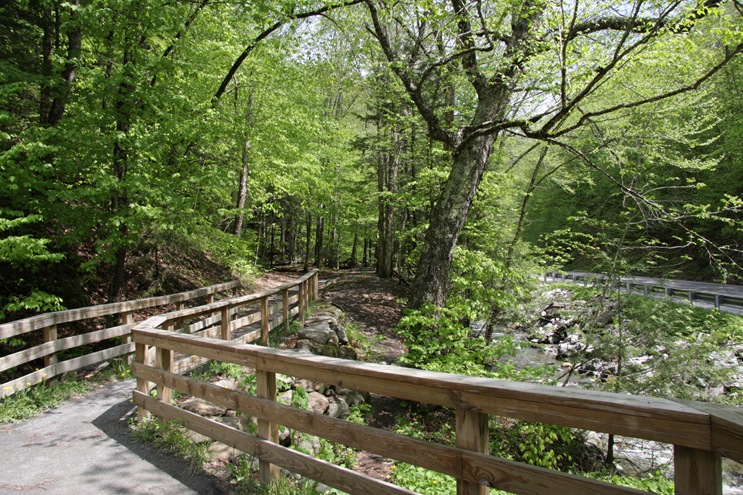
We drove past this nice waterfall and of course had to stop.
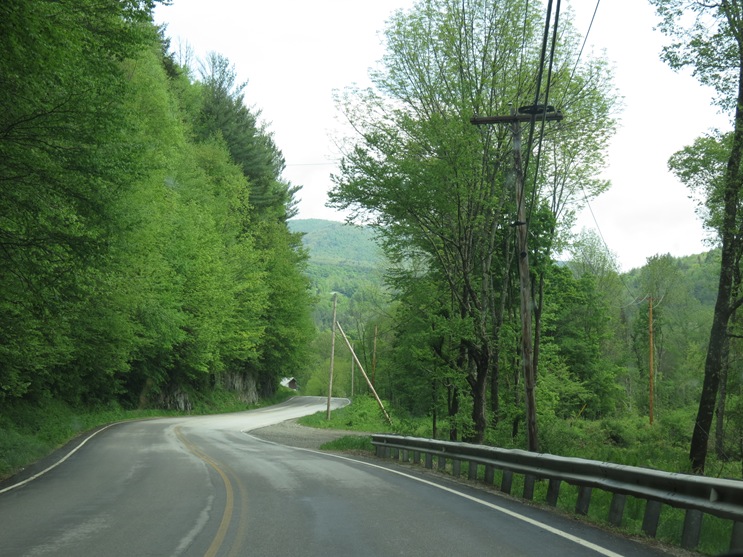
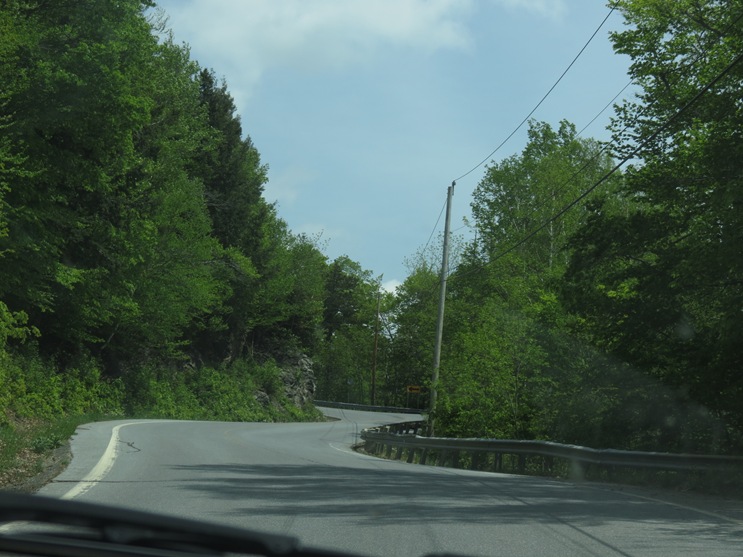
The gap roads themselves don’t actually have a lot of views. Mostly you are just driving steeply up or down some very twisty roads usually with a stream beside you.
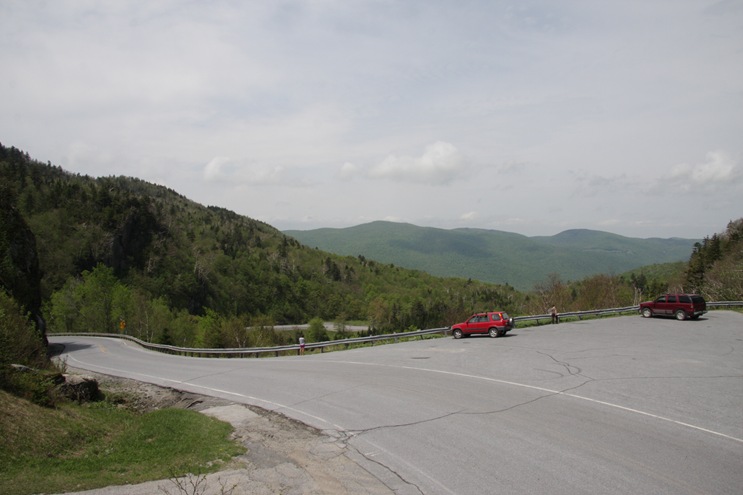
The Appalachian gap road did have one nice viewpoint at the top.
We stopped here for lunch.
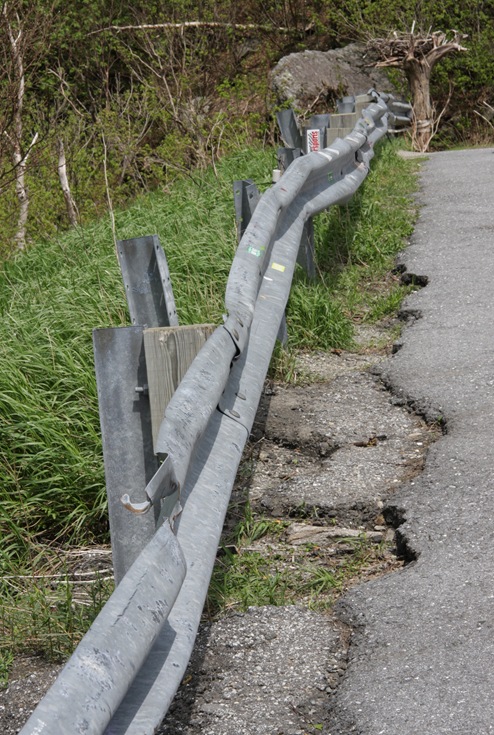
From the looks of the guardrail it seems like a lot of people had trouble stopping in time.
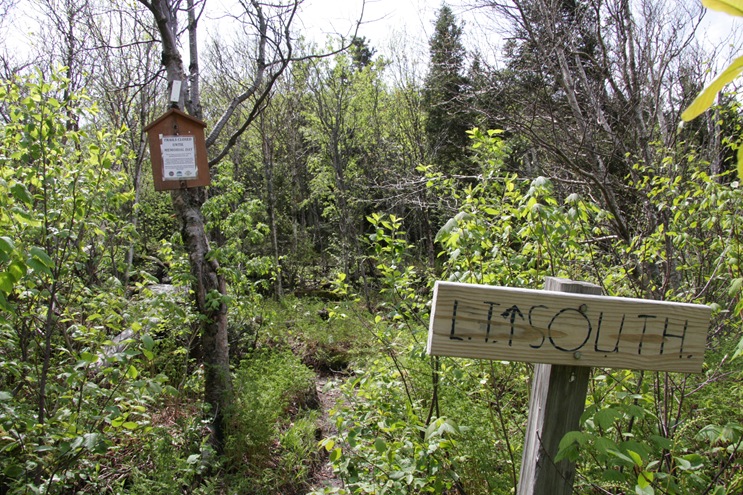
There is a hiking trail called the Long Trail that runs north/south through most of Vermont and hits the tops of all the mountains in the forest. The sign said the trail was closed until next weekend to let it dry out and recover from the wet spring.
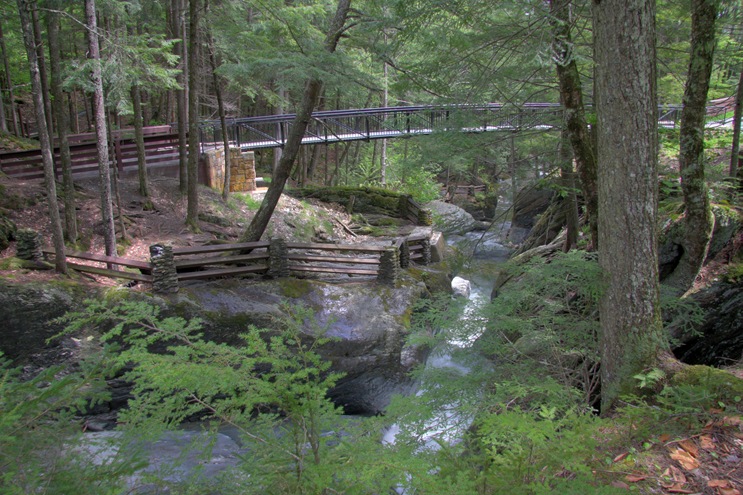
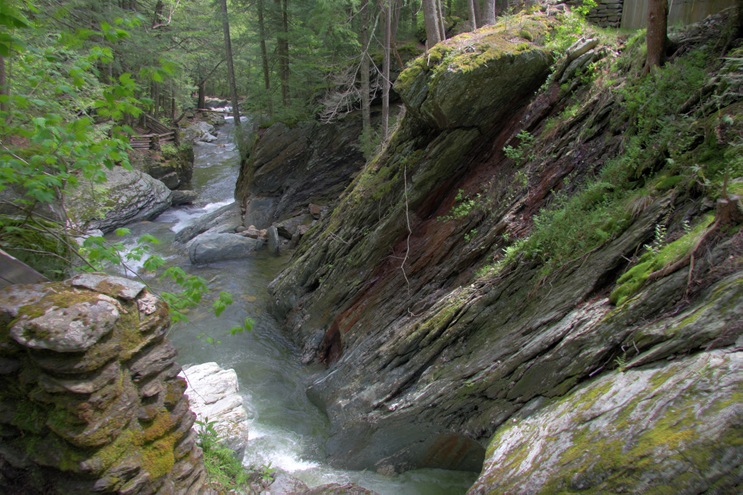
On the Brandon Gap Road, I saw on the map that there was another waterfall called Texas Falls. We detoured off the road a bit to check it out.
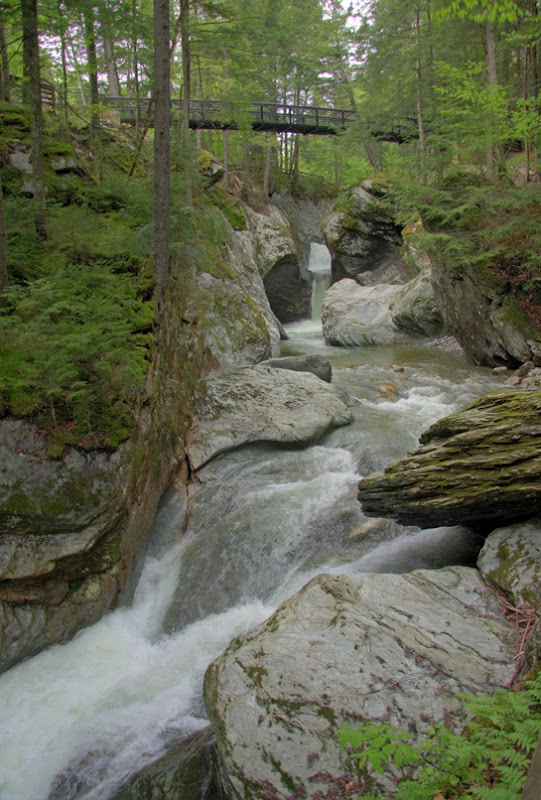
I also tried my first HDR pictures here. If you don’t know what that is, here is a quick explanation. Your eyes can see a much larger range between the light and dark parts of a scene than a camera can capture in a single image. The camera will try and make most of the scene the right brightness but this usually results in parts being too bright or dark.
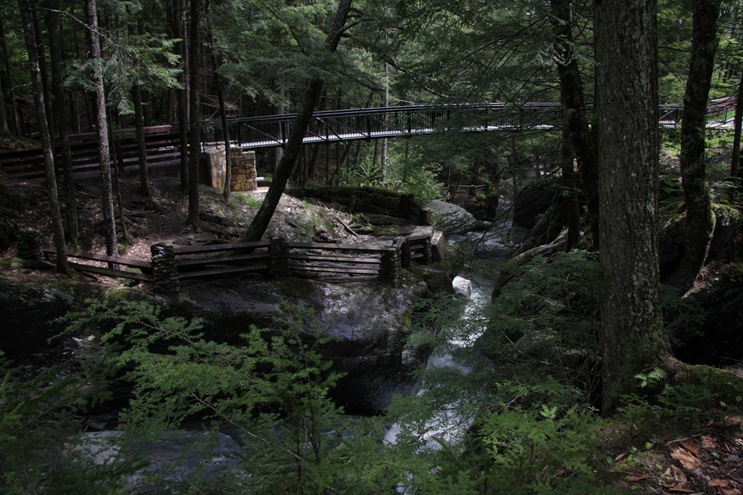
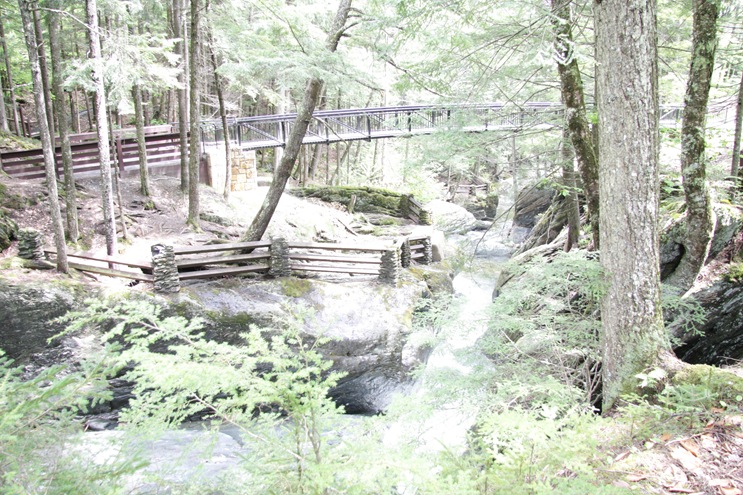
To create a HDR image you set your camera to take three shots of each scene. One at its normal exposure, one two stops under exposed and one two stops over exposed. You then use a program to examine the normal image and replace the over exposed parts of it with those from the underexposed image and the underexposed parts of the normal image with those parts from the overexposed image.
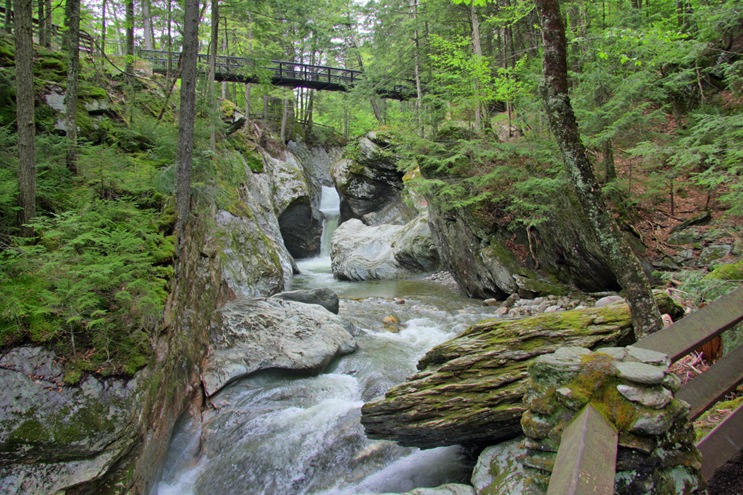
Here is the HDR image and then the three images used to create it. Not great but I think it is better than the single normal exposure image.
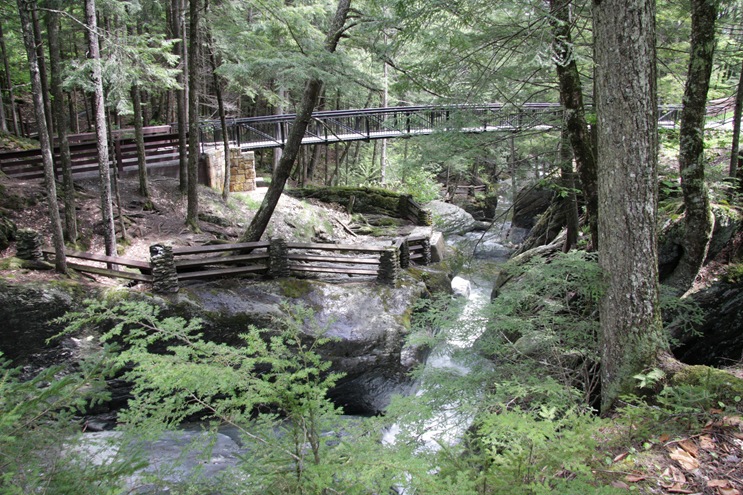
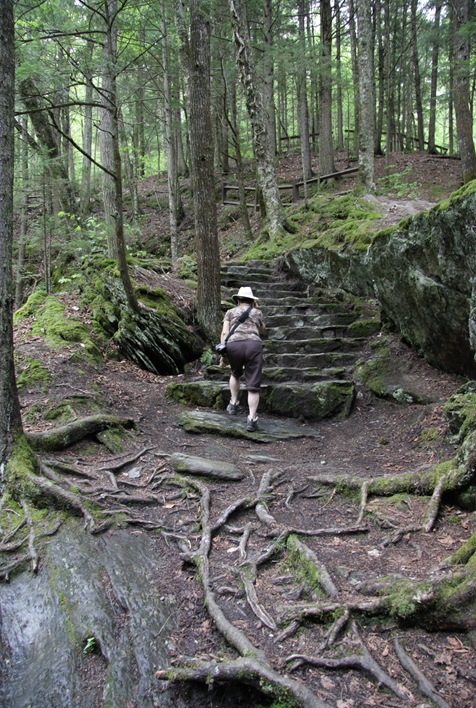
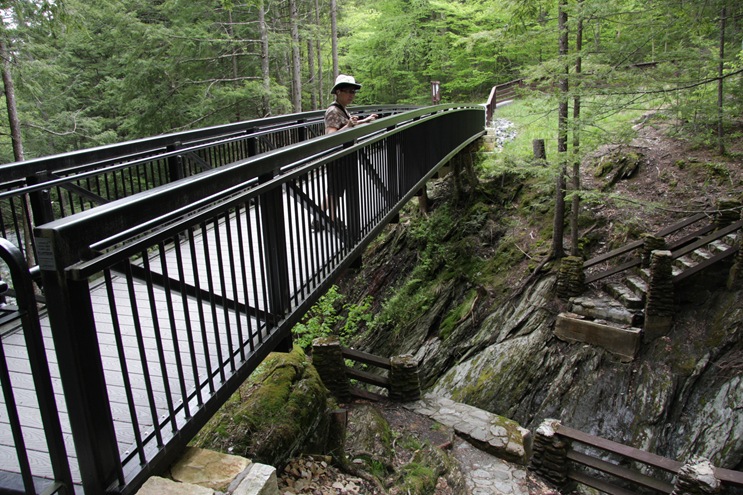
Here are some others of this very pretty waterfalls and gorge.
I had tried to take some at the first waterfall but they didn’t work. You have to take the three picture very quickly and hold the camera steady. It is best to take a tripod. I guess I moved too much because those attempts came out kind of blurry when the images were combined
Heading back to the car from the bottom of the gorge.
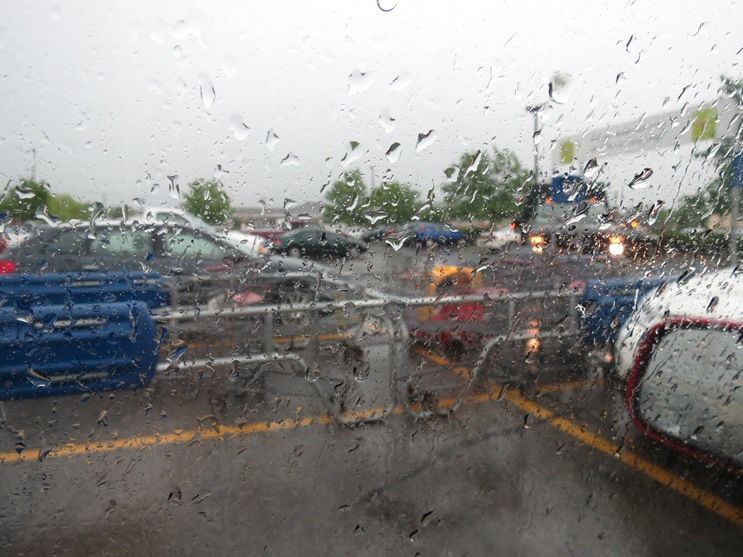
Heading back to the campground we stopped in Rutland to get some groceries. While waiting for Jennie I noticed some lightning off in the distance. I then realized I need something from Radio Shack. As I went across the parking lot I felt a few drops. When I went into the store and asked the clerk for what I wanted she said “Holy Crap” and I wondered what I had done. She was just looking at the rain. The heavens had let loose. It was one of the heaviest rains I had seen. I made the 40 foot dash to the grocery store and got completely soaked. Everyone, including the staff, was crowded around the doors just watching. Nobody dared go out.
By the time Jennie was done it had eased up and we headed back home.


No comments:
Post a Comment